Form Editor
The Form Editor lets you design Camunda Forms visually and export them as .form files. Forms you create here are automatically available to the BPMN Modeler for linking to UserTask and StartEvent elements.
Opening the Form Editor
Click the Form Editor icon (layout template / grid icon) in the left sidebar. The editor opens with the form list on the left and the canvas area on the right.
On your first visit, three example forms are pre-loaded automatically. Open the Kapvergunning Start example to see a complete citizen-facing form before creating your own.
Exploring the example forms
Select any entry in the form list to open it in the canvas. The three seed examples are read-only (marked EXAMPLE) — you can inspect and export them but not rename or delete them.
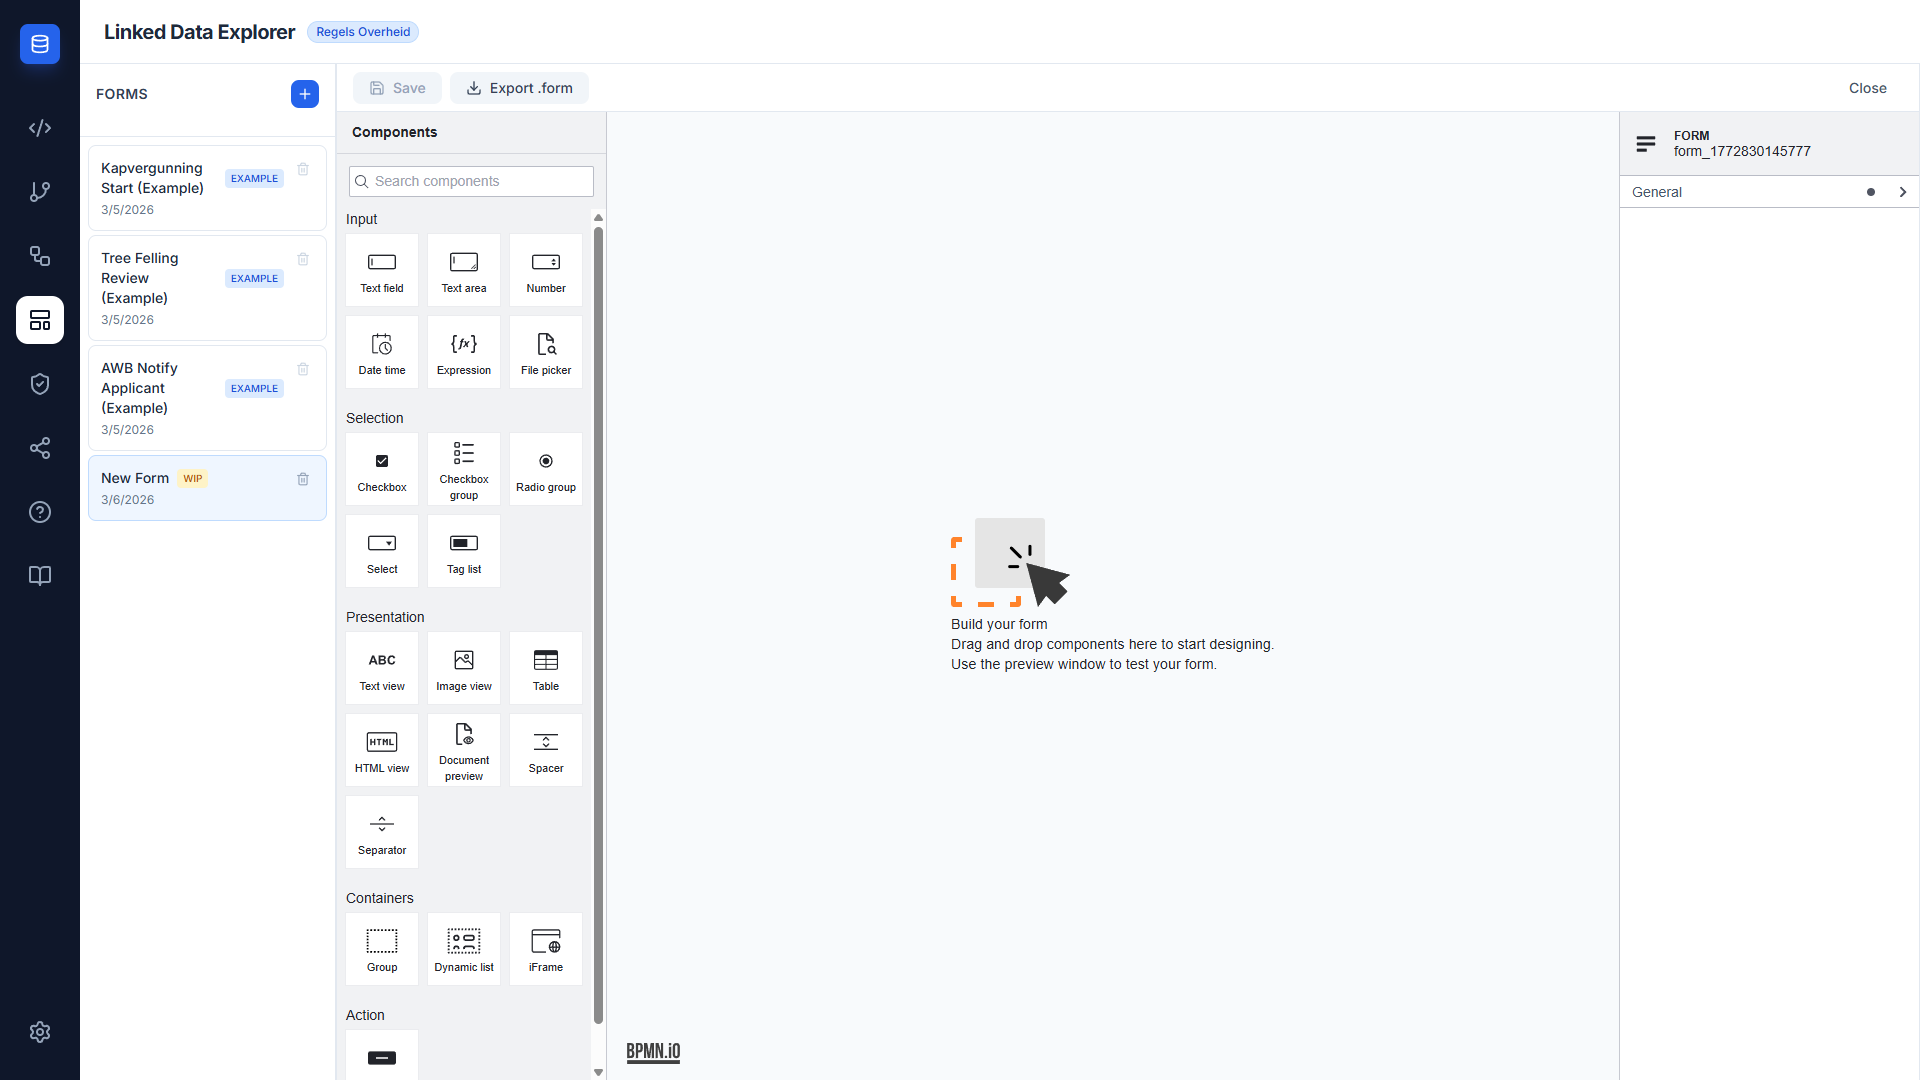
Creating a new form
- Click the blue + button at the top of the form list.
- A new form called "New Form" appears in the list and the canvas opens with an empty schema.
- Double-click the form name in the list to rename it.
Building a form
The canvas is a full @bpmn-io/form-js graphical editor.

Adding fields
Drag a component type from the left palette onto the canvas:
- Text field — single-line text input, maps to a string process variable
- Number — numeric input
- Select / Radio — option lists defined inline as
label / valuepairs - Checkbox — boolean field
- Text — static display text, supports Markdown headings and lists
- Button — required at the end of every form with
action: submitto trigger the submit event
Submit button required
@bpmn-io/form-js does not inject a submit button automatically. Every form must end with a Button component set to action: submit. Without it, the form renders but never fires the submit event in Operaton.
Setting field properties
Select any component on the canvas to edit its properties on the right:
| Property | Description |
|---|---|
| Label | Display label shown to the user |
| Key | The process variable name this field maps to |
| Validation | Required, min/max, pattern |
| Read-only | Show the value but prevent editing (useful for pre-populated DMN results) |
| Condition | FEEL expression that controls visibility (e.g., reviewAction = "change") |
Saving a form
Click Save in the toolbar. The button activates only when there are unsaved changes. The schema is persisted to localStorage and immediately available in the BPMN Modeler.
Exporting a form as .form
Click Export .form to download the schema as a JSON file. The filename is the form's schema ID (e.g., kapvergunning-start.form).
Exported files are compatible with:
- Camunda Modeler (form editor and BPMN linking)
- Operaton (direct REST deployment)
- The BPMN Modeler's one-click deploy, which bundles
.formfiles with the BPMN automatically
Linking a form to a BPMN task
You do not need to export the form to link it to a BPMN task. Forms saved in the Form Editor appear automatically in the Link to Form dropdown in the BPMN Modeler.
- Switch to the BPMN Modeler view.
- Select a
UserTaskorStartEventon the canvas. - In the properties panel, find Link to Form and pick the form from the dropdown.
See BPMN Modeler — Linking a UserTask or StartEvent to a form for full instructions.
Renaming a form
Double-click a form name in the list (WIP forms only) to activate inline editing. Press Enter or click away to save the new name.
Deleting a form
Click the trash icon on a WIP form entry. A confirmation dialog appears before the form is removed from localStorage. Example forms cannot be deleted.
Note
If a deleted form is still referenced by a camunda:formRef in a saved BPMN process, that reference becomes unresolvable. The BPMN Modeler will still show the form ID in the properties panel, but the deploy modal will list it as an unmatched form reference.